


The SG+/Pro (StarGo Plus/StarGo2 Pro) are Raspberry Pi based Astronomical control system, they have been designed to work in two main hardware connection methods:
- Method 1: StarGo Plus as a Hotspot
- Method 2: StarGo Plus connected to your network, via LAN or Wi-Fi
Usually the method 2 via LAN is accomplished by using an Ethernet cable connected to a router.
In a previous troubleshooting article we have explained how to establish a connection between a PC and a SG+/Pro by using an Ethernet cable.
This procedure requires to configure both the PC Network board and the SG+/Pro Ethernet network settings.
However, there is another method, even easier than the above mentioned one, that, with the help of a USB ethernet adapter, it requires to configure the I.P. settings on the PC only, something really similar to the “USB direct connection”, really useful to use on the field when a reliable cable connection is required and the internet or the home LAN are not available.
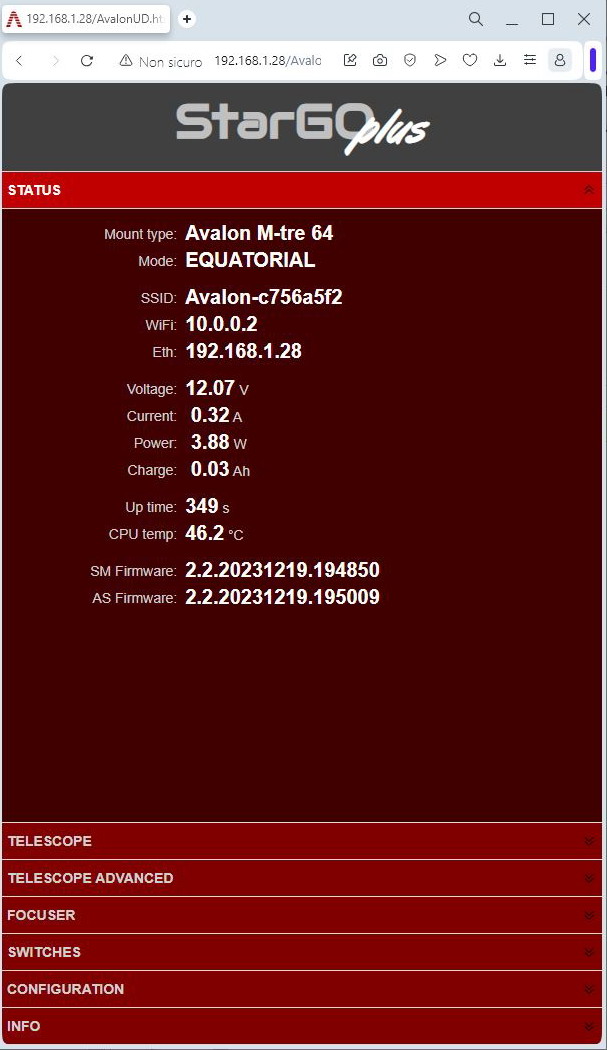
The SG+/Pro automatically set it's IP address as 192.168.1.28 when no router or other devices assign one throug the DHCP protocol.
So, after setting the USB adapter network IP in static mode and choosing an IP address on the same value set (in our example 192.168.1.30), it will be possible to establish the connection by simply connecting the Ethernet cable from the SG+/Pro to the USB adapter and typing the 192.168.1.28 on any browser, as shown in the following sample tutorial.
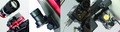
In order to set up this kind of connection are required the following accessories:
- Ethernet cable
- USB ethernet adapter
Below are explained the procedure to establish the connection:
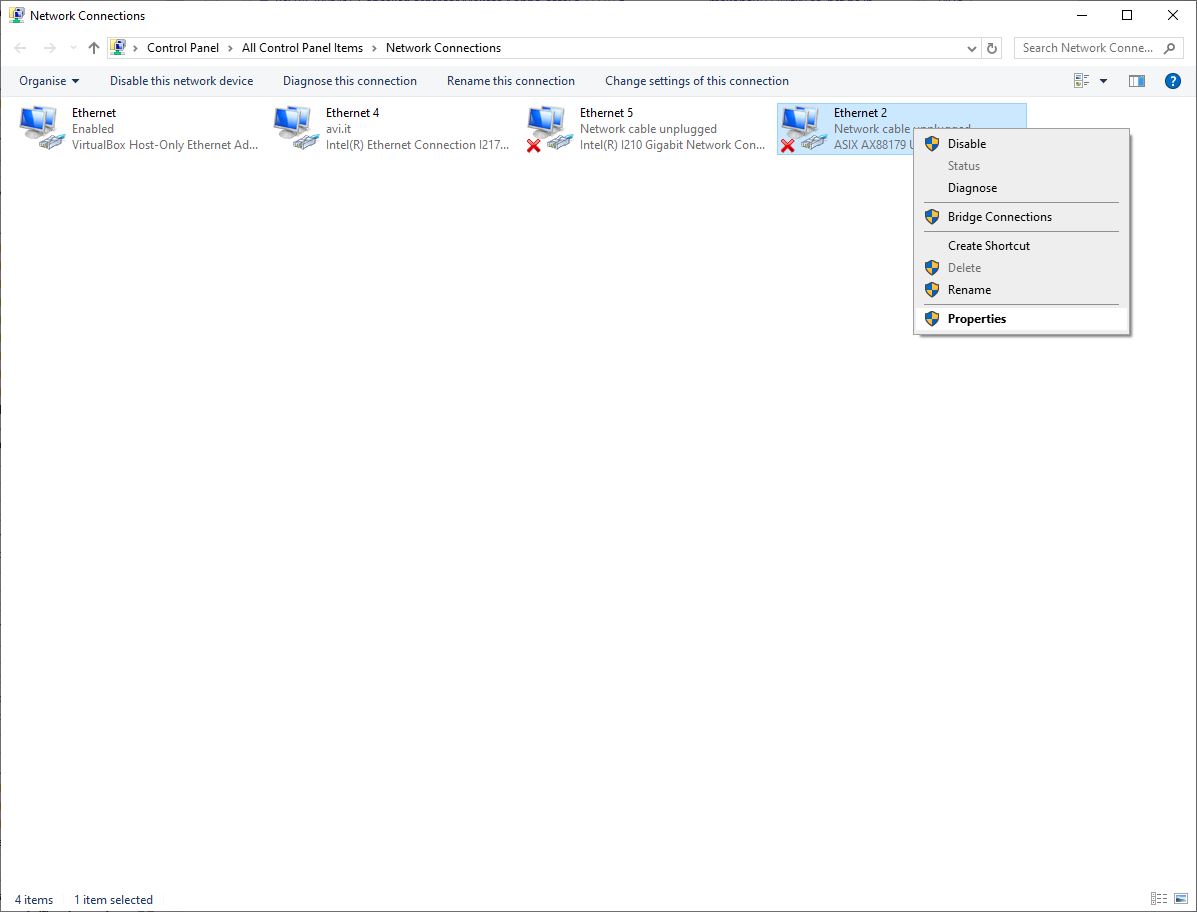
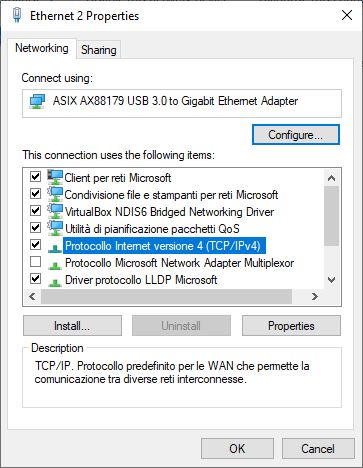
- Open the USB ethernet adapter properties
NOTE: In order to understand the correct Ethernet network to configure, check the Network description, it should match with the corresponding USB Ethernet product brand model
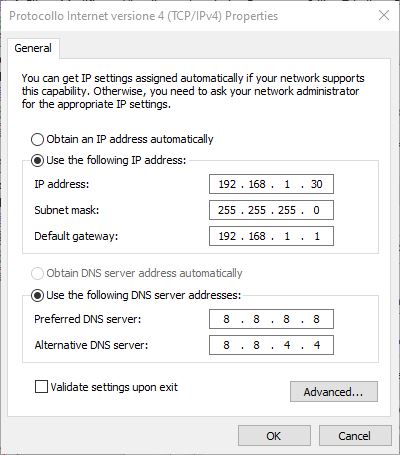
- Open the (TCP/IPv4) properties
- Switch the “Use the following IP address: option
set the value as shown in the picture below
Afterward just typing the 192.168.1.28 I.P. address on a browser it will be possible to connect to the device.